Euro cylinder locks (also referred to as euro profile cylinder locks, euro locks or euro barrels) are widely used in uPVC doors and steel doors. The locks consist of two parts:
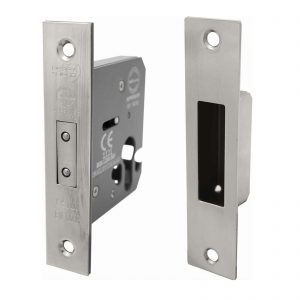
The basic body with the bolt and catch etc which fits into the door and door jamb.
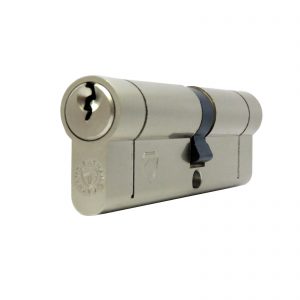
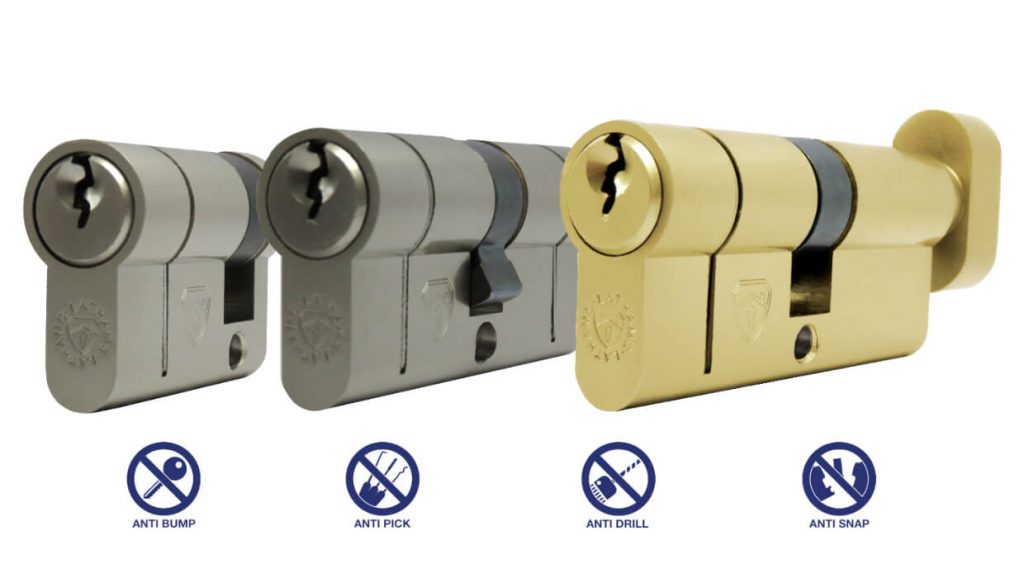
The cylinder which contains the actual lock. Some cylinders will contain a key slot on both sides, whilst others have a key slot on one side and a thumb turn on the other to allow for speedier access.
Although commonly used, cheaper or older euro cylinder locks are prone to getting stuck or jamming.
How does a euro cylinder lock work?
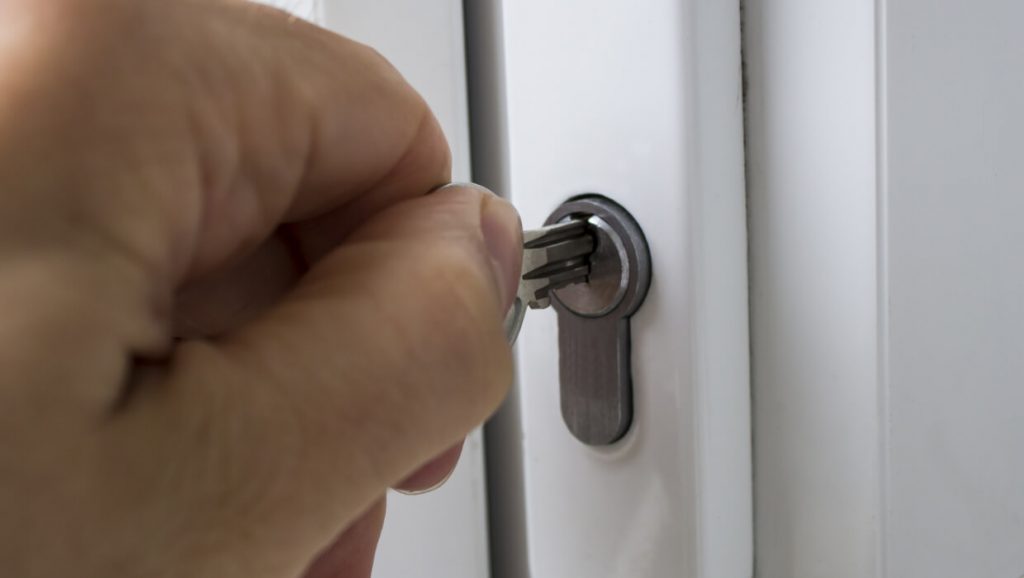
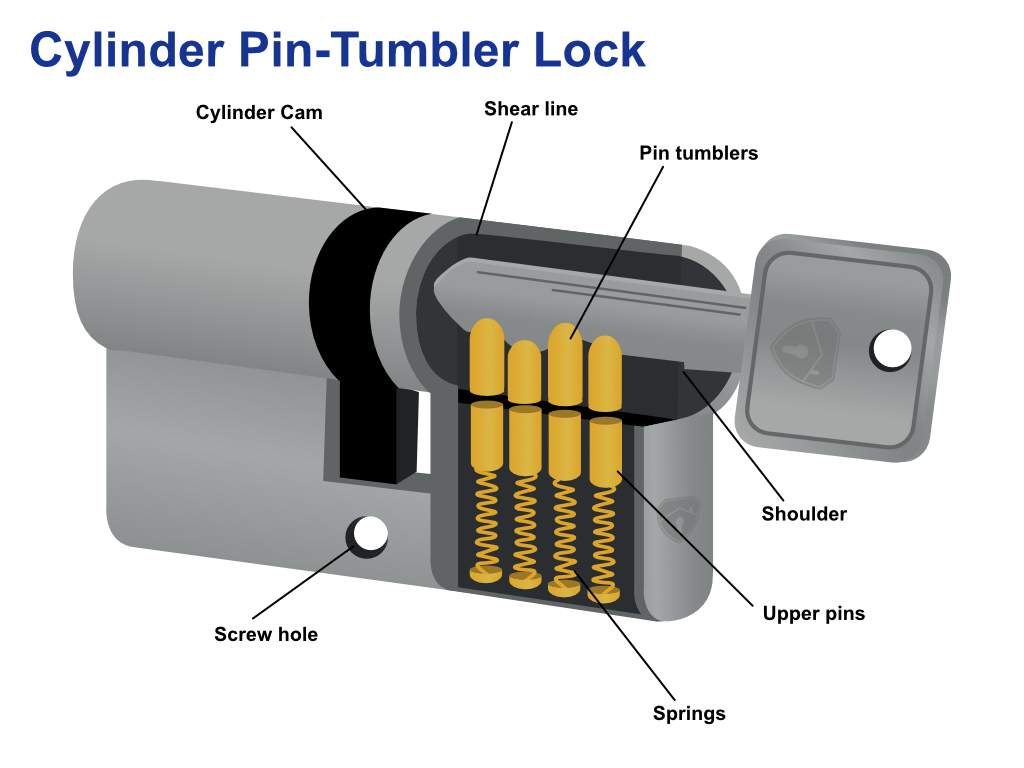
The euro cylinder is located through the lock case and secured by a fixing screw through the face of the lock case. When it’s locked, the cylinder engages a series of spring-loaded pins which keep the cylinder from turning. When a key is inserted, the uneven edge pushes the pins upward to fit the key’s height in that location within the lock body. Essentially, it recognizes the correct key when the pins move into their proper places.
Of course a thumb turn cylinder will work without pins; the user will simply twist the thumb-turn to lock and unlock the door.
For more information on how a euro cylinder works, read our guide to euro cylinder locks here.
Why do euro cylinders get stuck?
There are numerous reasons why a euro cylinder can become stuck, but usually it’s due to one of the following:
- Outdoor locks can collect dirt and dust inside the lock cylinder, that can cause the lock pins to become stuck in a partially raised position and prevent the plug from turning.
- The key gets stuck in the lock, or will not turn in the lock, often because the cylinder mechanism needs lubrication. The teeth of the key lodge against the lock pins and even though the pin springs aren’t very strong, the pins can be unmovable.
- The internal springs and or pins become worn over time and simply fail or break making the cylinder inoperable.
- The key is bent and will not fit into the lock properly.
How to fix a euro cylinder that is stuck or inoperable.
First, try lubrication. A lubricant can help penetrate and loosen the internal workings of the cylinder, although if the key is bent or broken, this will likely not fix the problem. Lubricants such as WD40, silicon or even a small dot of graphite to the key can help. The key may need to be inserted numerous times to give the lubricant a chance to work.
If the lubricant is not effective, and the euro cylinder lock remains stuck, then it needs to be removed. Depending what tools are available will likely determine which option is employed to replace the cylinder lock.
How to remove a euro cylinder that is stuck, locked or key won’t turn or key stuck/broken in the lock.
Method 1
- Remove the door handle – Use a screwdriver to detach the screws holding the handle to the door. This is because it’s easier to access the support pins to free the lock when the handle is removed. It’s probably best to start with the outside handle as this will likely provide enough access to the lock to release it.
- Break the locking pins holding the cylinder in place – Locate the two support pins holding the protruding part of the euro cylinder lock in place. Grasp the euro cylinder housing with the strong pliers or mole grips. Tighten the pliers/mole grips to get the best hold, then bend the cylinder slightly up and down (or from side to side, depending on how the lock fits in the door). When the two support pins break, the barrel will snap in its middle.
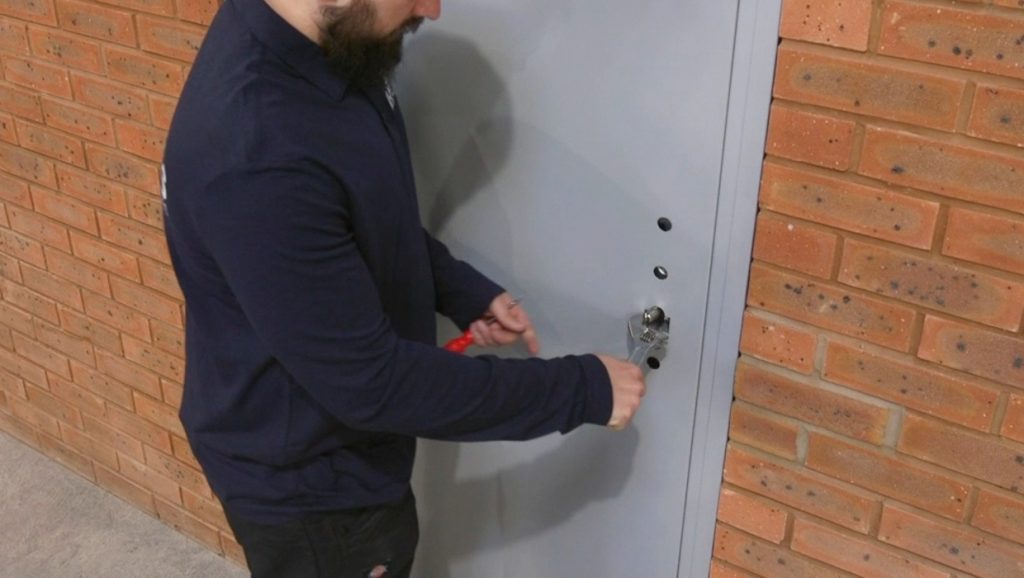
- Remove the old euro cylinder and locking bolt – Open the door and with a screwdriver release the fixed screw that holds the lock into the door plate. Use the key to open the lock and remove the cylinder, ensuring the cam at the side of the lock is flush with it, otherwise, it will not slide out.
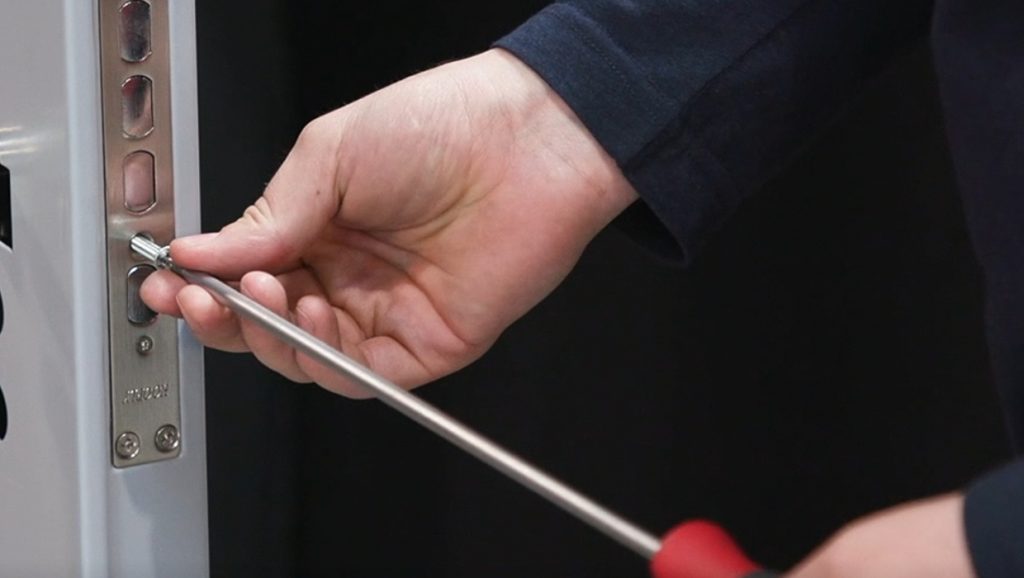
- Insert a new euro cylinder lock – We’d highly recommend using a euro cylinder with anti-snap, anti-drill and anti-bump properties. Measure the old cylinder housing to ensure the new lock is the correct size. You can read more about how to measure a euro cylinder here. Place the new lock key into the new lock to align the cam. Insert the entire cylinder unit into the door. Turn the key so it activates the locking bolt. Check that the locking bolt moves in and out of the door smoothly. Remove the key and secure the new cylinder lock housing into the door with the fixed screw through the door plate.
Method 2
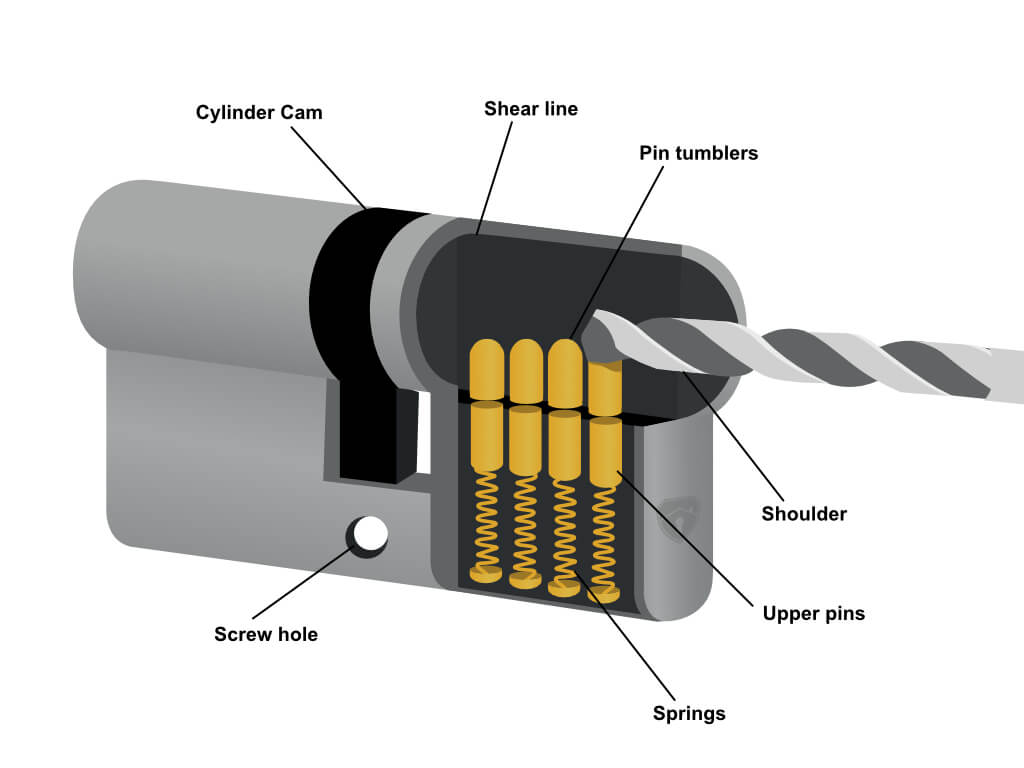
- Drill a hole through the lock cylinder using the 1/8-inch drill bit to the end of drill line. This destroys the pins inside the lock, allowing it to be forced open. Most locks have five tumbler pins, but there are some with six or more.
- Once the drilling commences, the cylinder workings should ease off as each pin gets drilled through. The drill bit should be removed periodically to allow the pins to be removed by a small sharp tool to aid the drilling process. This method also works if there is not a cylinder key, as once all the pins have been removed the lock can also be turned with a small screwdriver (key if there is one). This is to align the arm/cam at the side of the lock, prior to sliding it out once the fixing screw has been removed, which holds the lock in place against the door plate.
The point to drill should be just below the shear line, the dividing line between the inner and outer cylinder of the lock, which will keep the drill bit on the centre plug. This should be high enough to effectively drill through the pin tumblers
Please note – the 2 methods detailed above work on euro cylinders that do not have anti drill or anti snap qualities.
How to remove an anti-snap or anti-drill euro cylinder that is stuck, locked or key won’t turn
Anti-snap euro cylinder
For newer anti-snap euro cylinder locks the process detailed above, at Method 1, can also be tried as sometimes the lock will still snap in its middle rather than 1/4 of the way down its length. However, greater force will likely be required. If the lock does snap as it is designed, ¼ way down its length, then the likely best method to remove the remaining ¾ of the lock is to drill it out (see next paragraph); or engage a locksmith.
Anti-drill euro cylinder lock
For newer anti-drill euro cylinder locks the process detailed above, at Method 2, can also be tried, although will take longer to accomplish. The drill should be operated with greater care and the drill bit removed more often when the drilling resistance increases. This is to remove any broken ‘anti-drill’ pins with a small sharp tool. However, most good quality drill bits will be able to drill through the pins, if they cannot easily be removed. Once the lock has been drilled to the end of the pin line, a small sharp/flat tool should be inserted into the keyhole to dislodge any remaining pin tumblers. If a key is broken in the keyhole, then the tool should be used in the drilled hole, with the actual lock tapped with a hammer to help dislodge the tumbler pins; or engage a locksmith.
How to replace a euro cylinder
If the euro lock cylinder is not stuck but remains unserviceable then replacing it is relatively easy. Release the fixed screw that holds the lock into the door plate. Use the key to open the lock and remove the cylinder by sliding it out, ensuring the cam at the side of the lock is flush with it. Refit a new cylinder by reversing this procedure, as detailed above in step 4 of method 1.
For more information, read our ultimate guide to euro cylinders here.


